How to Train for Downhill Hiking: Reduce Embarrassing Falls and Put an End to Knee Pain
Downhill hiking can cause knee pain for hikers regardless of your fitness level. Training to hike downhill is a requirement to minimize falling or developing acute knee joint pain and suffering other lower body injuries. There is no way to cheat the difficulty required to walk down steep grades. You just need to train!
Before we chat about 7 downhill hiking training techniques, take a second to reflect on the state of your knee pain – if any.
– Do you have a history of knee pain?
– Have you had a surgical procedure in your knee joint?
– Do you have knee pain while hiking downhill?
– Do you have pain in any other lower body joint or muscle?
If you answer yes to any of the above questions, you should visit a physical therapist to reduce pain and increase function or visit an orthopedist to diagnose pain or limited mobility.
Here is a list of the best downhill hiking training techniques. Pick at least two and apply to your current hiking workout.
#1 Walking down stairs
#2 Resistance training with slow contractions
#3 Plyometric training
#4 Isometric leg training
#5 Balance training
#6 Slide board and gliding disc exercising
#7 Train with extra pack weight
In addition to applying these 7 techniques, consider these two non-training tips that assist with downhill hiking.
– Use hiking poles (If you already have some type of chronic knee pain when hiking downhill, then it’s a requirement that you become competent using poles).
Check out this foolproof guide that discusses how to choose and use hiking poles.
– Wear hiking or trail running shoes with aggressive lugs to provide enhanced traction and minimize slipping.
This Trail Running Tips article lists shoe brands that feature lugs great for traction to decrease the difficulty of walking downhill.
The 7 Most Effective Training Techniques for Hiking Downhill
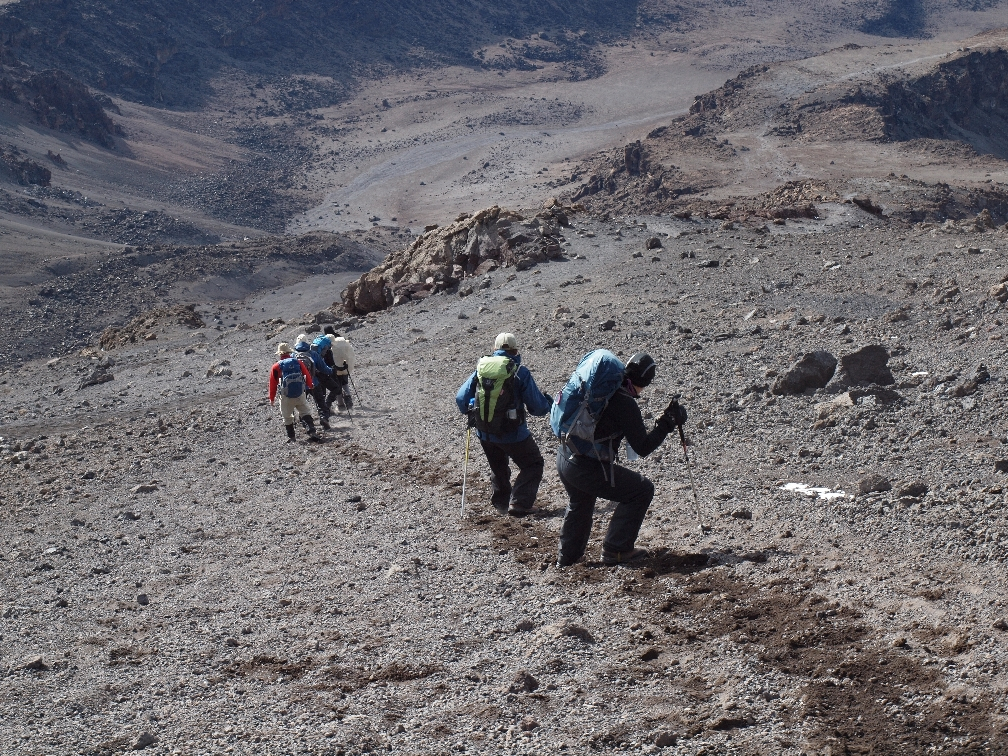 Jane S. successfully summited with the conditioning she achieved with Fit For Trips coaching. She is downhill hiking with confidence.
#1 Walking down stairs
Walking downhill is very similar to walking down stairs. You can walk stairs anywhere, including in your home, office building, or parking garage. For variety, see if you can locate stairs in a local park, outdoor auditorium, or high school stadium. You must keep in mind that to walk down stairs you must also be able to walk up them; that would be correct. Always walk single stairs down, however, experiment with climbing stairs in a variety of ways:
– Single stairs
– Double stairs
– Triple stairs
– Bounding up stairs quickly single, double, or triple
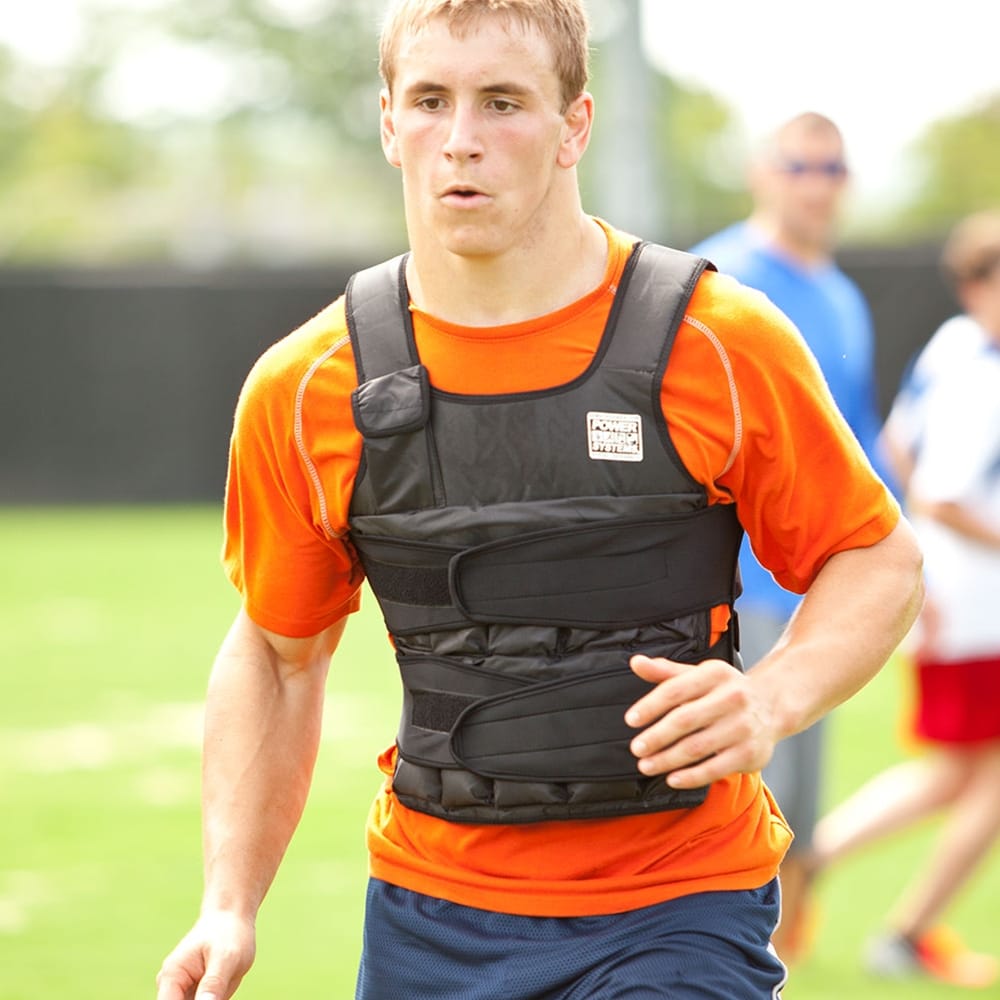
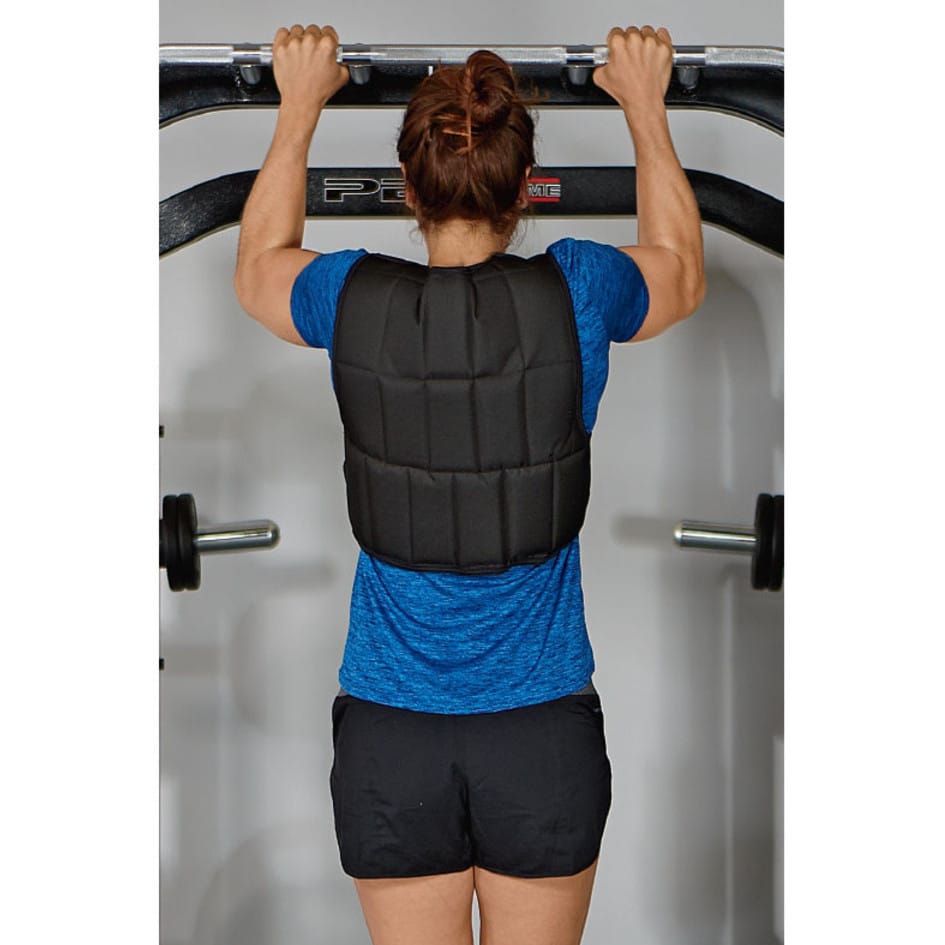
Increase the benefits for downhill hiking and wear a weighted vest to increase muscle contractions. However, you must first train on stairs for several weeks to two months without extra weight so your Achilles tendon, plantar fascia, and other soft tissue areas acclimate to the stress from your own body weight. If you have previous issues with hips, knees, and feet (i.e., plantar fasciitis) walking downstairs or downhill, wearing extra pack weight is not recommended until you consult with your physician or physical therapist.
Your motivation can wane as you continue to walk stairs over time. Use this stair climbing calculator to gauge your progress and discover effective workout ideas.
Shop for the VersaFit Vest
 VersaFit Vest has 10, 20, and 40 pound options. You can reduce the weight by removing sand-filled weight bags. Be sure to refer to chest size when making a purchase.
Shop for the Infinity Vest
 Infinity Vest has 6 or 10 pound options available.
Shop for Uni-Vest Weight Vest
 Comes with 10 pounds, but you can purchase extra Flex Metal weights to increase to 20 pounds. There is another option available that is longer and comes with 20 pounds but can go up to 40 pounds.
Shop for Elite Hyper Vest
 Each of the four sizes comes with 10 pounds of weight. The small vest goes up to 15 pounds while the other sizes go up to 20 pounds.
Shop for PB Extreme Weight Vest
 10 pound vest can go up to 20 pounds. The 20 pound vest can go up to 40 pounds.
Shop Amazon for Weighted Vests
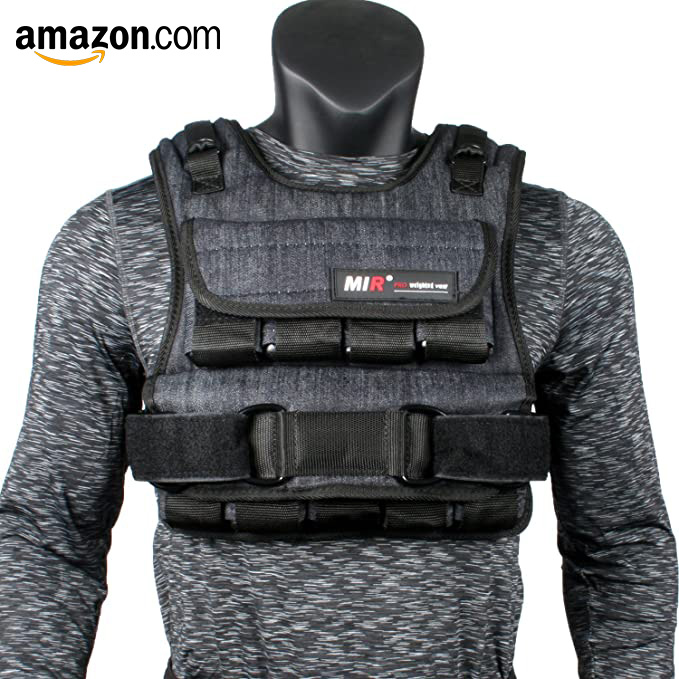 This 20 pound vest found on Amazon has slots to add weights for a total of 60 pounds.
#2 Resistance training with slow contractions
Walking lunges, reverse lunges, kettlebell deadlifts, and single leg ¼ squats are excellent exercises if you have difficulty walking downhill. Training for downhill hiking requires that you perform some lower body exercises with a slow descent. For example, while performing a walking lunge, you should lower your knee of the back leg toward the floor with a minimum 2-4 second count. You can stand back up in a quicker controlled pace. This article provides a structured and effective leg workout where you can apply the “slow” training strategy. This unique training technique is helpful for strengthening leg muscles to minimize or eliminate knee pain while walking downhill.
#3 Plyometric training
Plyometric training involves jumping or bounding. Both require a hefty strength base in all lower body muscles. The potential for injury is high because these activities require you to contract muscles at a higher velocity. Be sure you have been performing lower body resistance training (i.e, walking lunges, weighted squats, leg presses, etc.) for several months before you begin jumping. As referenced earlier, you can check out this lower body workout to provide a sufficient strength base so you can safely perform plyometric training.
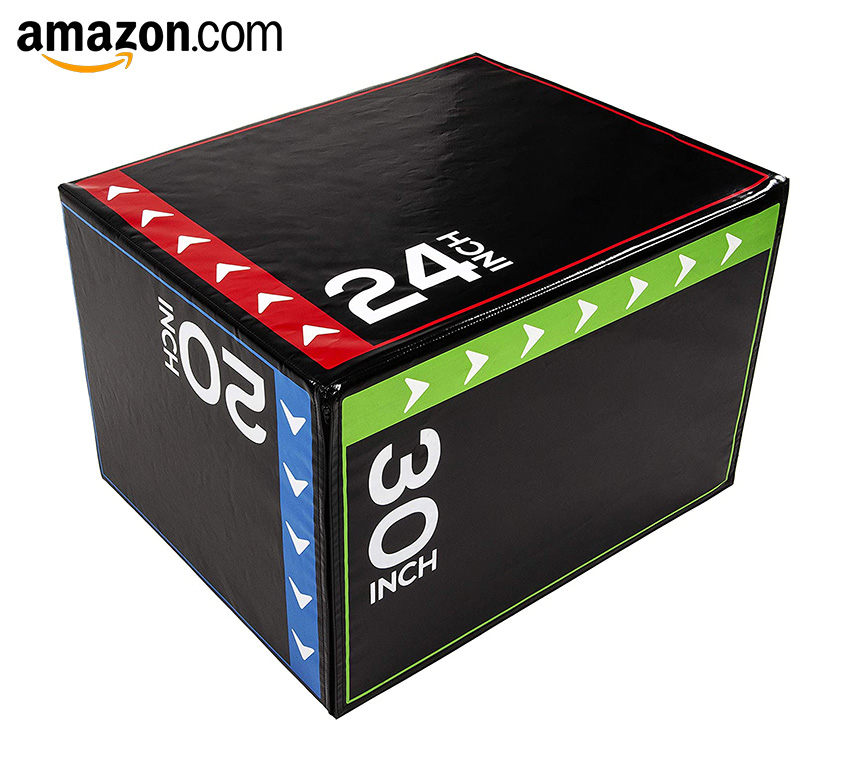
Although there are many ways to perform plyometric training, using plyometric (plyo) boxes to simulate large rocks or boulders is a practical approach. Stepping up on the boxes and down is a prerequisite before you jump up to and off of the boxes. Note: If you already have knee pain, performing plyometric work is not recommended. Check with your orthopedist and physical therapist to validate.
You can also wear the weight vests during plyometric training, but you need to have a significant level of core and lower body strength – not endurance. Bottom line, you need STRENGTH and LOTS of it!
Shop for 3-in-1 Foam Plyo Box
 3-in-1 Foam Plyo Box for use on 3 sides at heights of 20”, 24”, 30” or 16”, 20”, 24”.
Shop for Power-Plyo Boxes Black
 These are your best options if you want more classic steel stackable plyo boxes in 12”, 18”, 24”, 30”, 36”, 42” all sold separately or in sets.
Shop Amazon for Plyometric Boxes
 This BalanceFrom plyometric box has soft forgiving surfaces and edges for safety.
#4 Isometric leg training
Isometric training requires you to freeze an exercise in a challenging position then hold. Using the walking lunge as an example, you would step forward and down into a lunge position. You would then hold a 90 degree angle in the knee joint of the front leg and hover the knee cap of the back-leg off the floor about one inch. Hold this for several seconds (up to 30 seconds). This technique is similar to technique #2 above and provides similar benefits to prevent knee pain often experienced by adventurers hiking downhill.
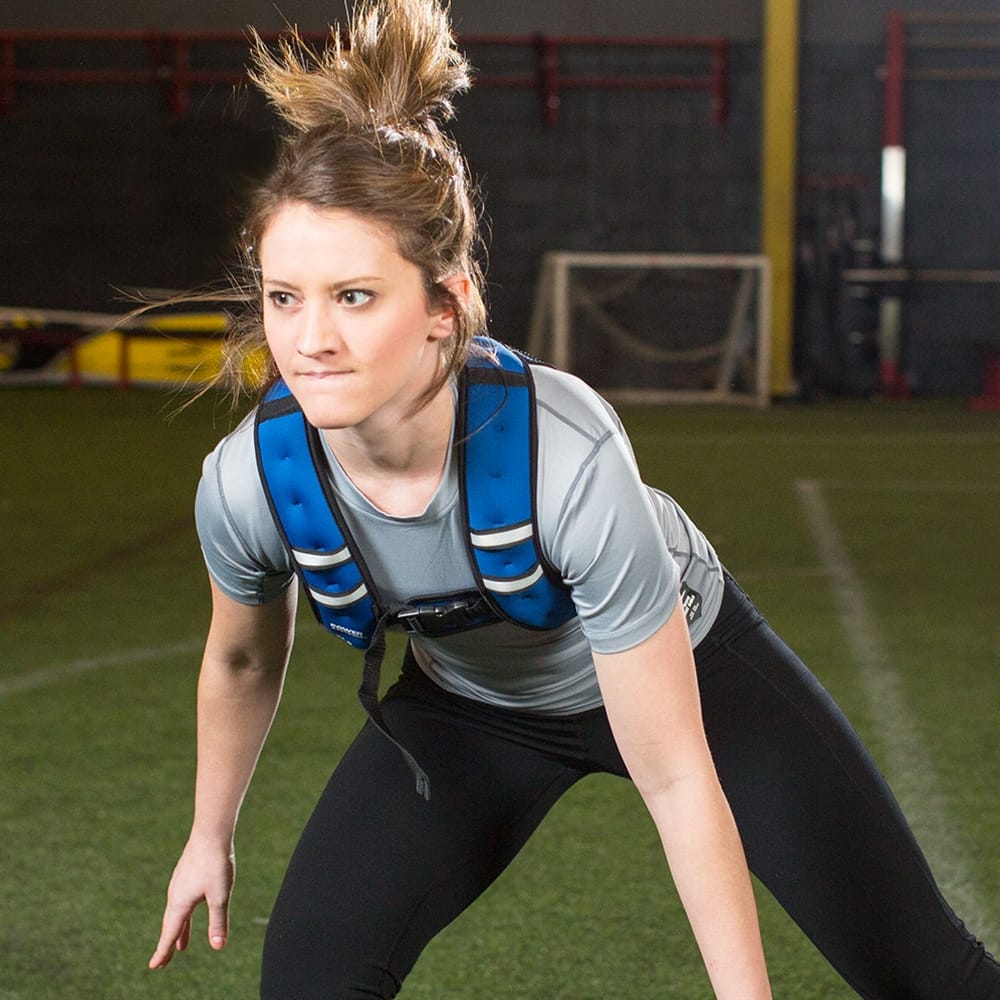
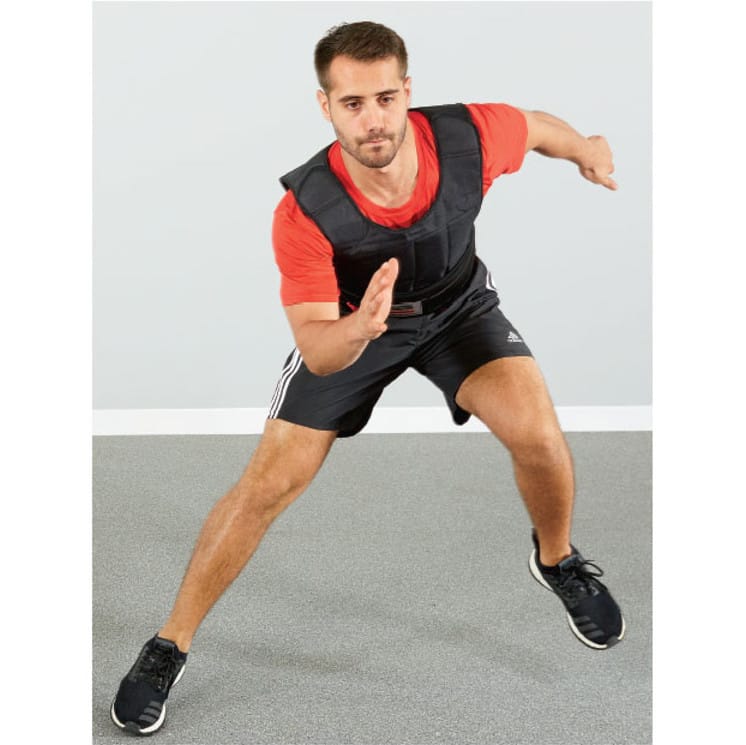
#5 Balance training
Balance training is key if you want to minimize your chances of stumbling when hiking downhill. With every step taken you shift 100% of your body weight to a single leg, though only for a split second. This requires strength to tolerate downhill forces as well as balance. The muscles around the ankle, hip, and knee joints need to work together in different positions as protection against slips and falls. This ankle strengthening article has easy-to-follow ideas for balance training. Balance training should be added to every workout whether or not you need to build confidence in your downhill hiking. Bonus: This technique helps minimize chances of damaging soft tissue in the knee (i.e, ACL, meniscus), ankle, or hip joint.
Shop for Balance Steps (6″ Balance Pods)
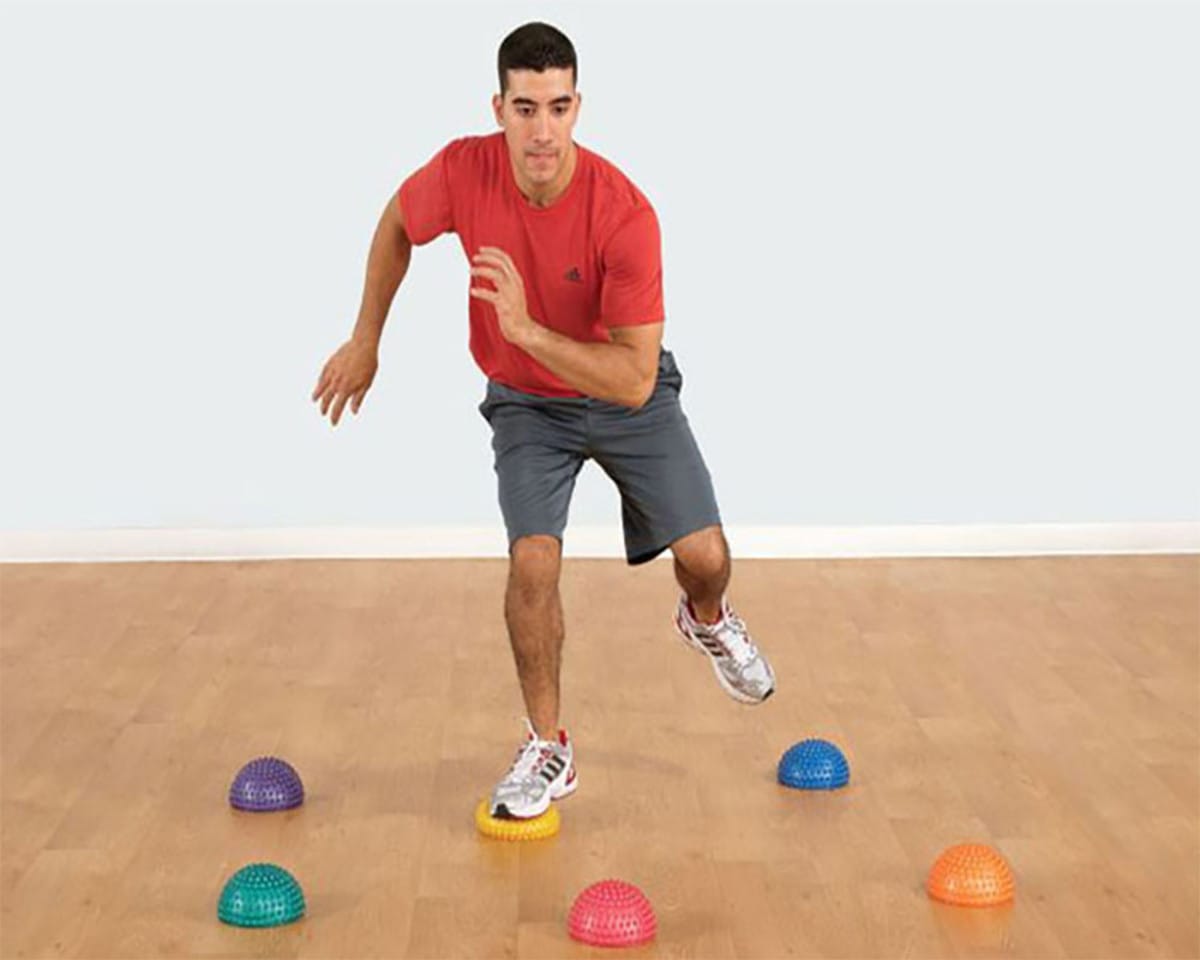 6 Balance pods add fun and variety to your workouts.
This video demonstrates a few exercises that you can replicate with balance pods ‘obstacle domes’ .
Shop Poly Balance Beam
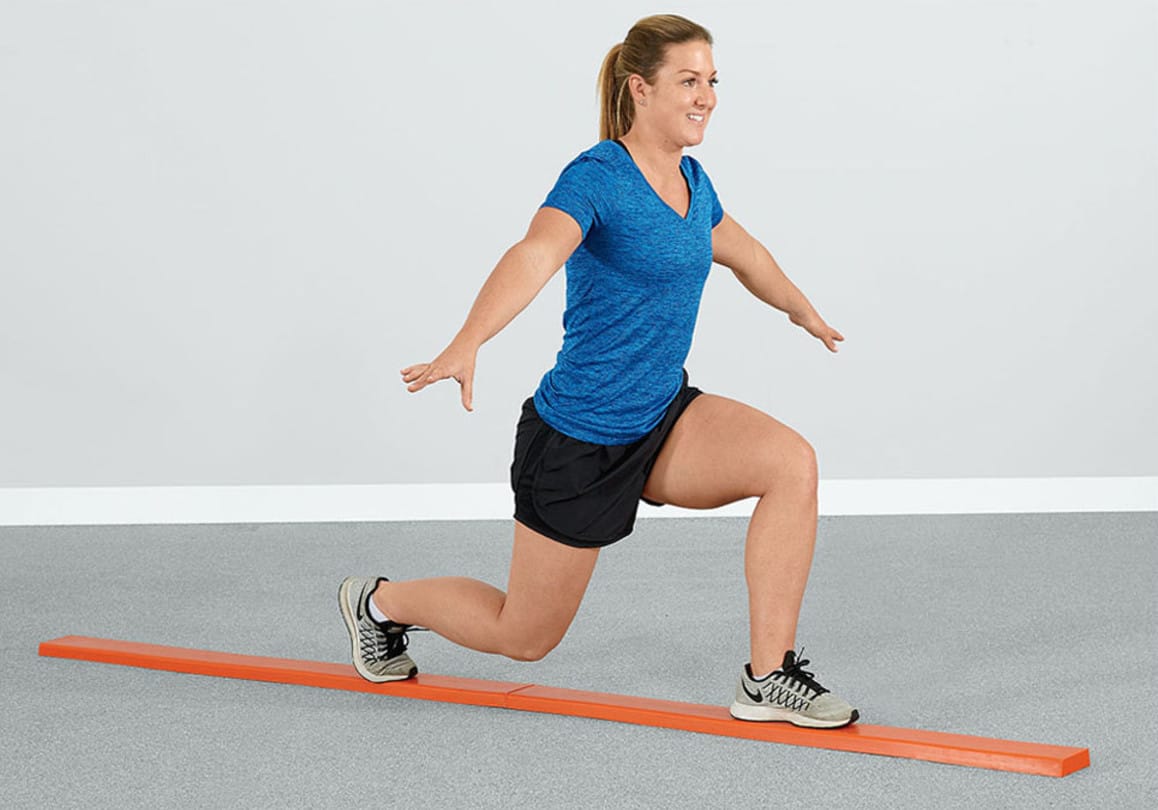 Poly Balance Beam uses a gymnastic approach to balance training.
This video demonstrates a few exercises that you can replicate on a balance beam.
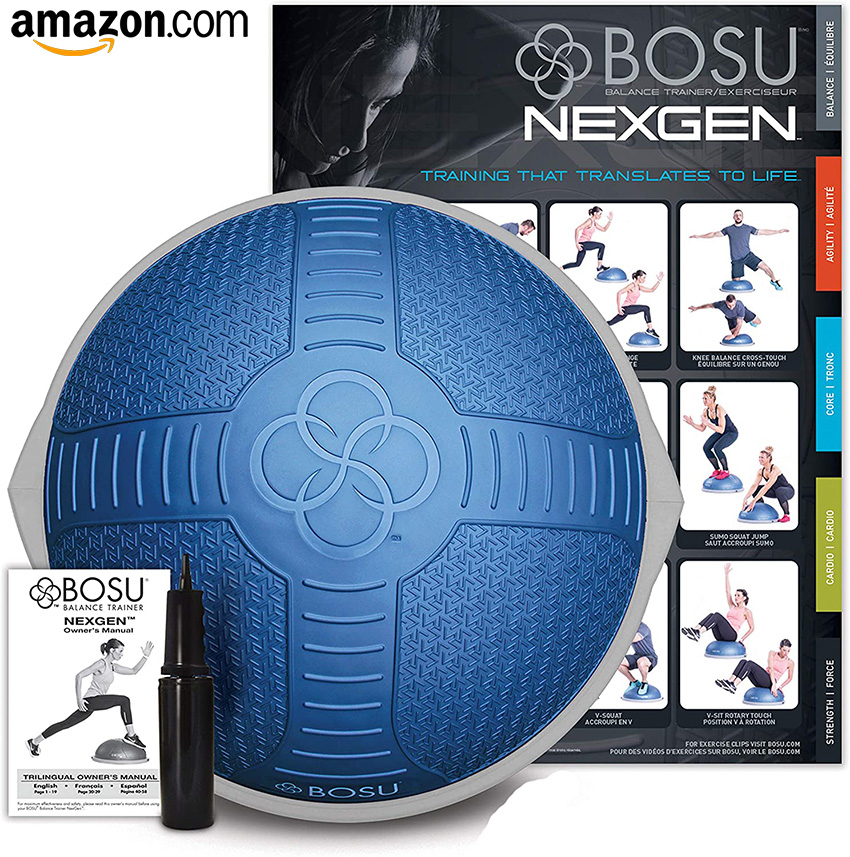
Shop Balance Training Equipment from Amazon
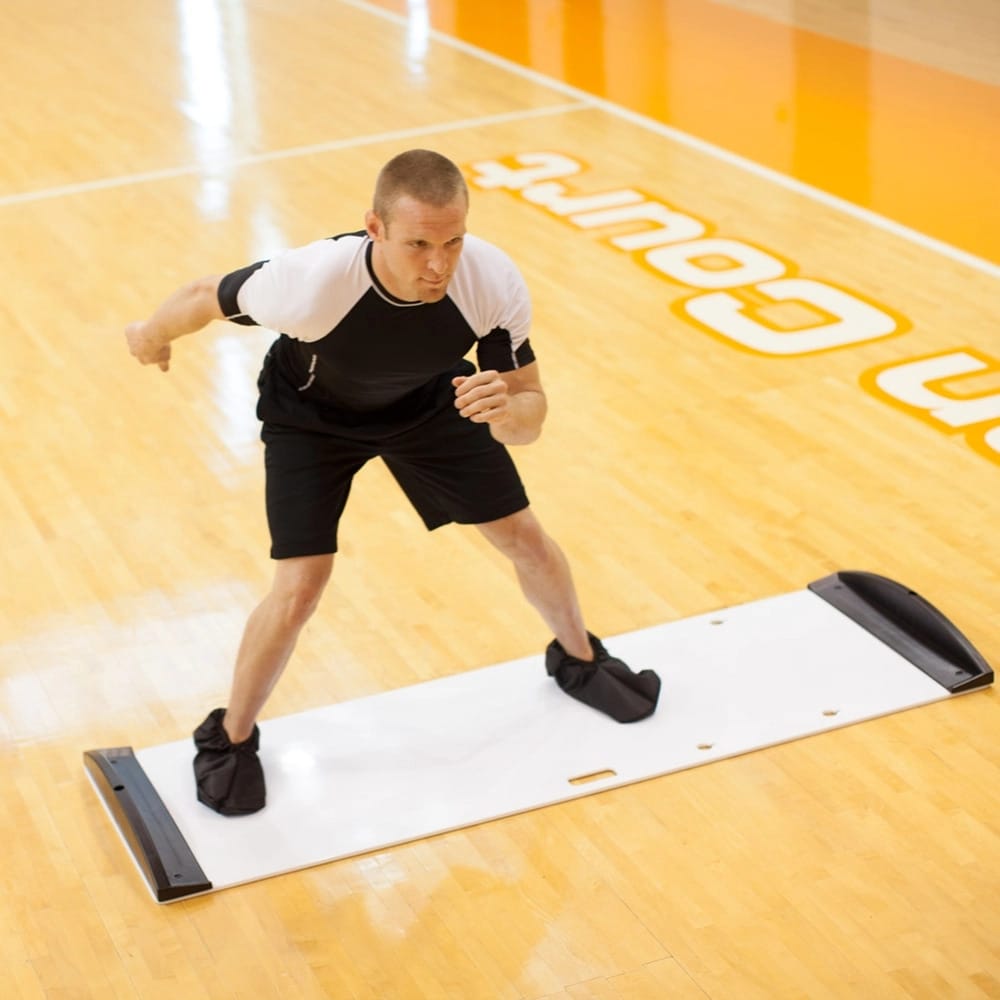
#6 Slide board and gliding disc exercising
This type of training for downhill hiking is really fun, especially the slide boards. These pieces of equipment reduce floor friction (simulating “slippery” surfaces under your foot) so that your whole body glides or each foot slides independently.
If you happen to slide on scree, sand, mud, etc. you’ll need to pull the leg(s) back under your hips so you don’t stumble or fall into a split or compromised position. This downhill training technique – like balance training – is important to incorporate to reduce chances of injury in the knee and other joints and muscles.
If you become competent with the slide board, purchase 8 foot length to train on. 10 feet of sliding length is for very advanced or taller hikers.
Shop for Gliding Discs
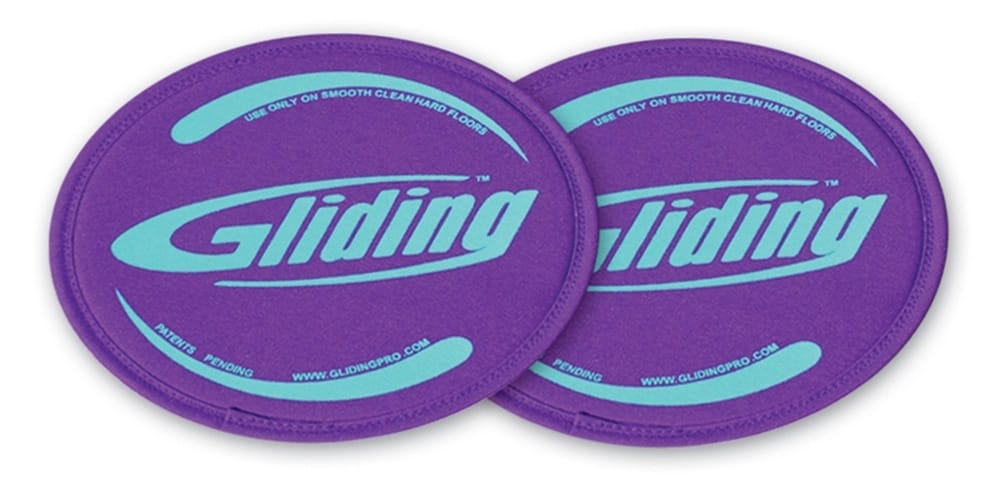 Gliding Discs provide a smooth gliding surface over hardwood or carpet (two different materials sold separately).
Shop for Premium Slide Board
 The Premium Slide Board is adjustable from 5 to 8 feet. It comes with booties that slide over your shoes.
Shop for Pro Slide Board
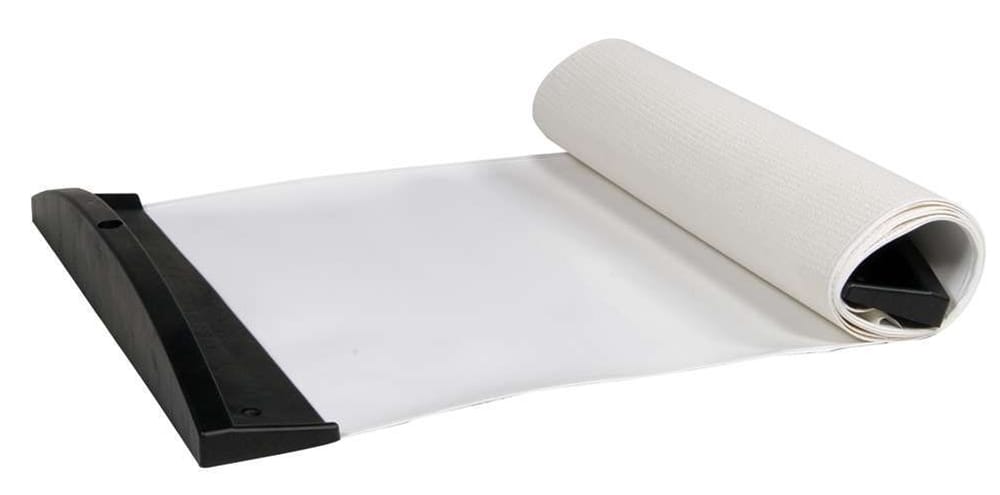 Pro Slide Board is more portable and is only 8 feet and more challenging for beginners. It comes with booties that slide over your shoes.
Shop for HockeyShot Slide Board Pro
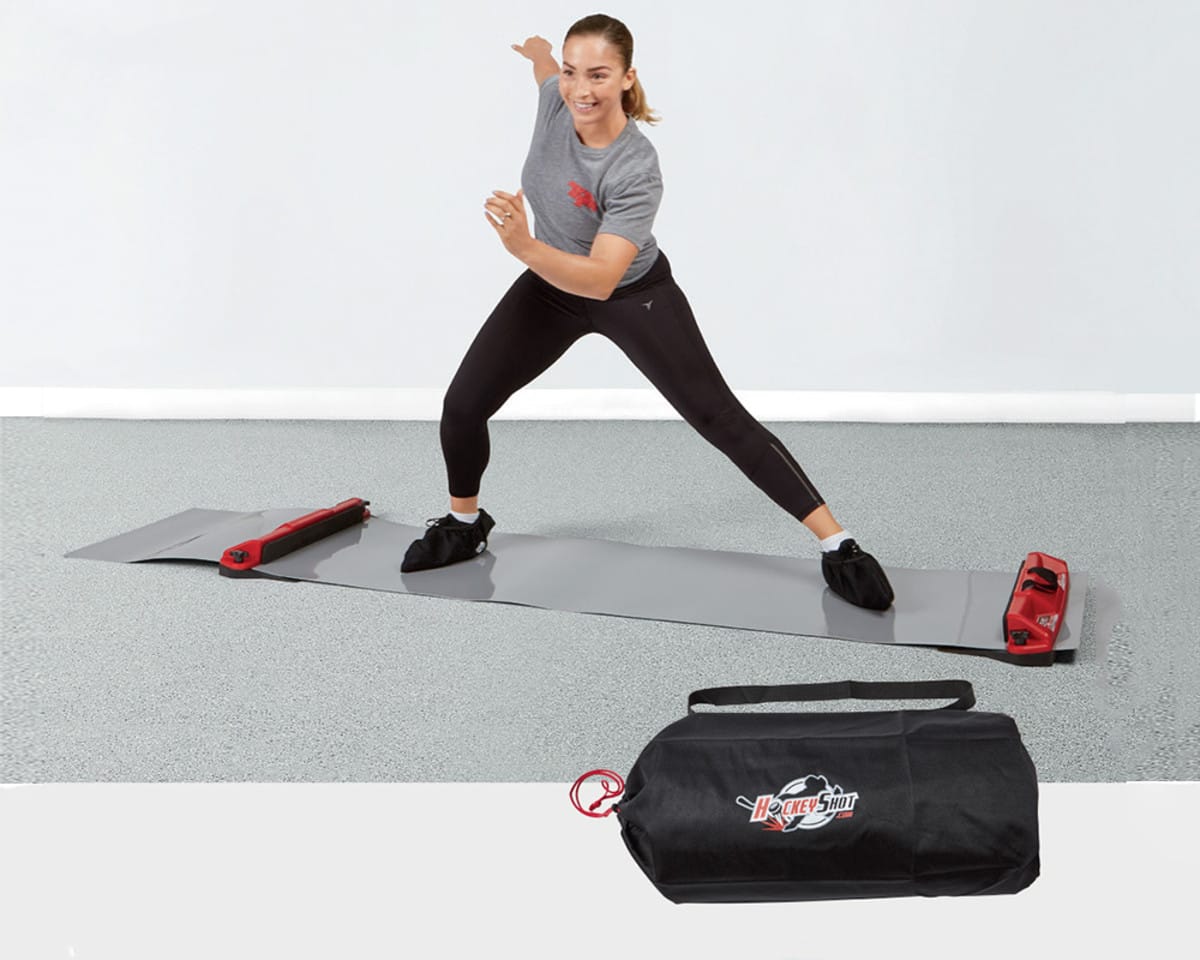 HS Slide Board Pro is portable and has a 10 foot option for advanced users and comes with booties.
Shop Amazon for Slide Boards
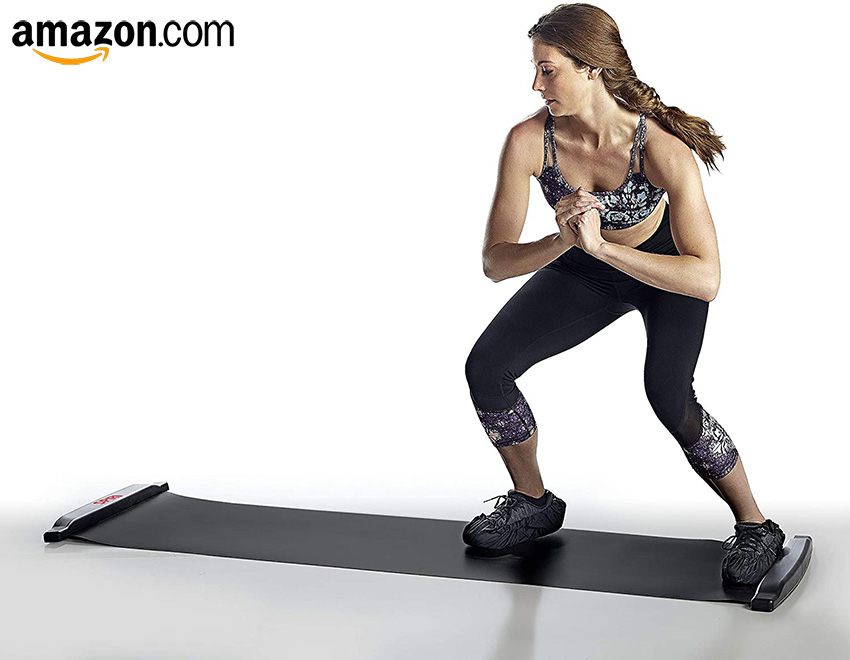 You can shop on Amazon for beginner slide boards like the one featured above.
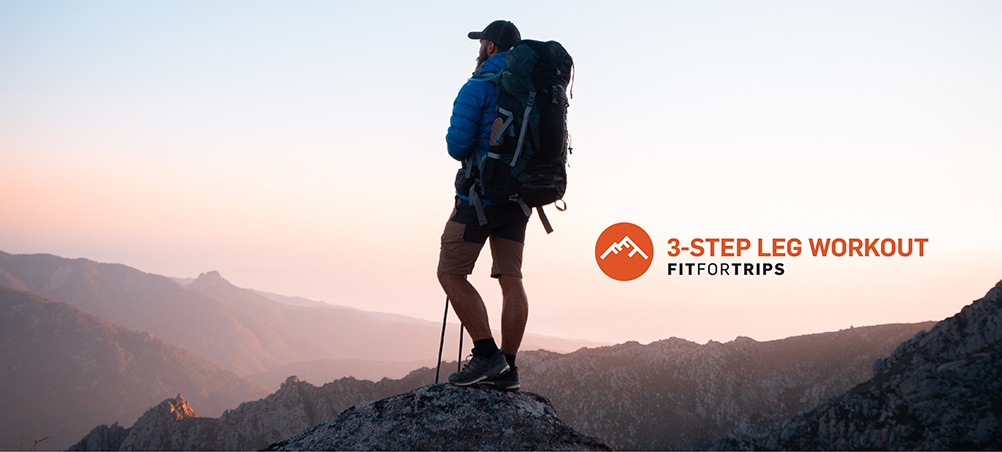
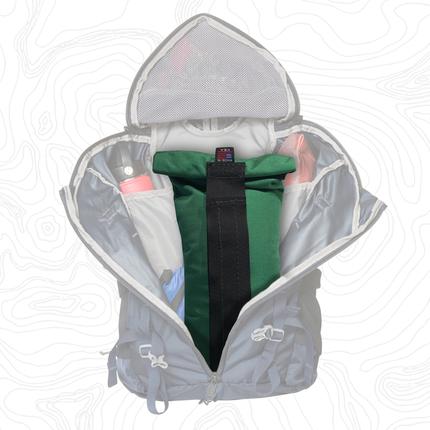
#7 Train with extra pack weight
One key component to downhill hiking training is to hike short distances with a heavy backpack. If your ankles, knees, hips, and back can tolerate a heavy pack, then you will have a better chance of controlling your body weight and the pack while hiking. These sand sack pack weights are easy to throw in your pack to increase the challenge. If downhill hiking normally causes you knee pain, then do not carry heavy pack weight until you have performed some of the other training techniques above for several weeks to months.
Training for downhill hiking is an important strategy not to be ignored. Implement one or two of the seven techniques year-round. If you develop a significant strength base and level of durability in your knees and muscles over time then you can add 3+ techniques to the last few months of training prior to departing for a challenging hiking, backpacking or trekking trip. The ultimate goal: Avoid knee pain when hiking downhill; minimize chances of stumbling and falling; having fun and feeling confident…
Ready to take your downhill hiking training to the next level? Contact us today for your complimentary fitness consultation.