Map and Compass navigation: Learn the fundamental skills of trail navigation
The best way to learn map and compass navigation skills is to attend a class — there is no substitute for hands-on training with a knowledgeable instructor.
Map and Compass Navigation Courses
Such courses are offered by REI (Recreation Equipment Incorporated), NOLS (National Outdoor Leadership School), WMI (Wilderness Medicine Institute), SOLO (Stonehearth Outdoor Learning Opportunities), orienteering clubs, wilderness conservation groups, local college outdoor education classes, wilderness skills and survival classes. If you don’t find anything locally, check with the offices of the nearest National Forest, National Park Service, Bureau of Land Management, state park, state Department of Natural Resources, or local Boy Scout troops.
What you read below here is a primer for Navigating Trails
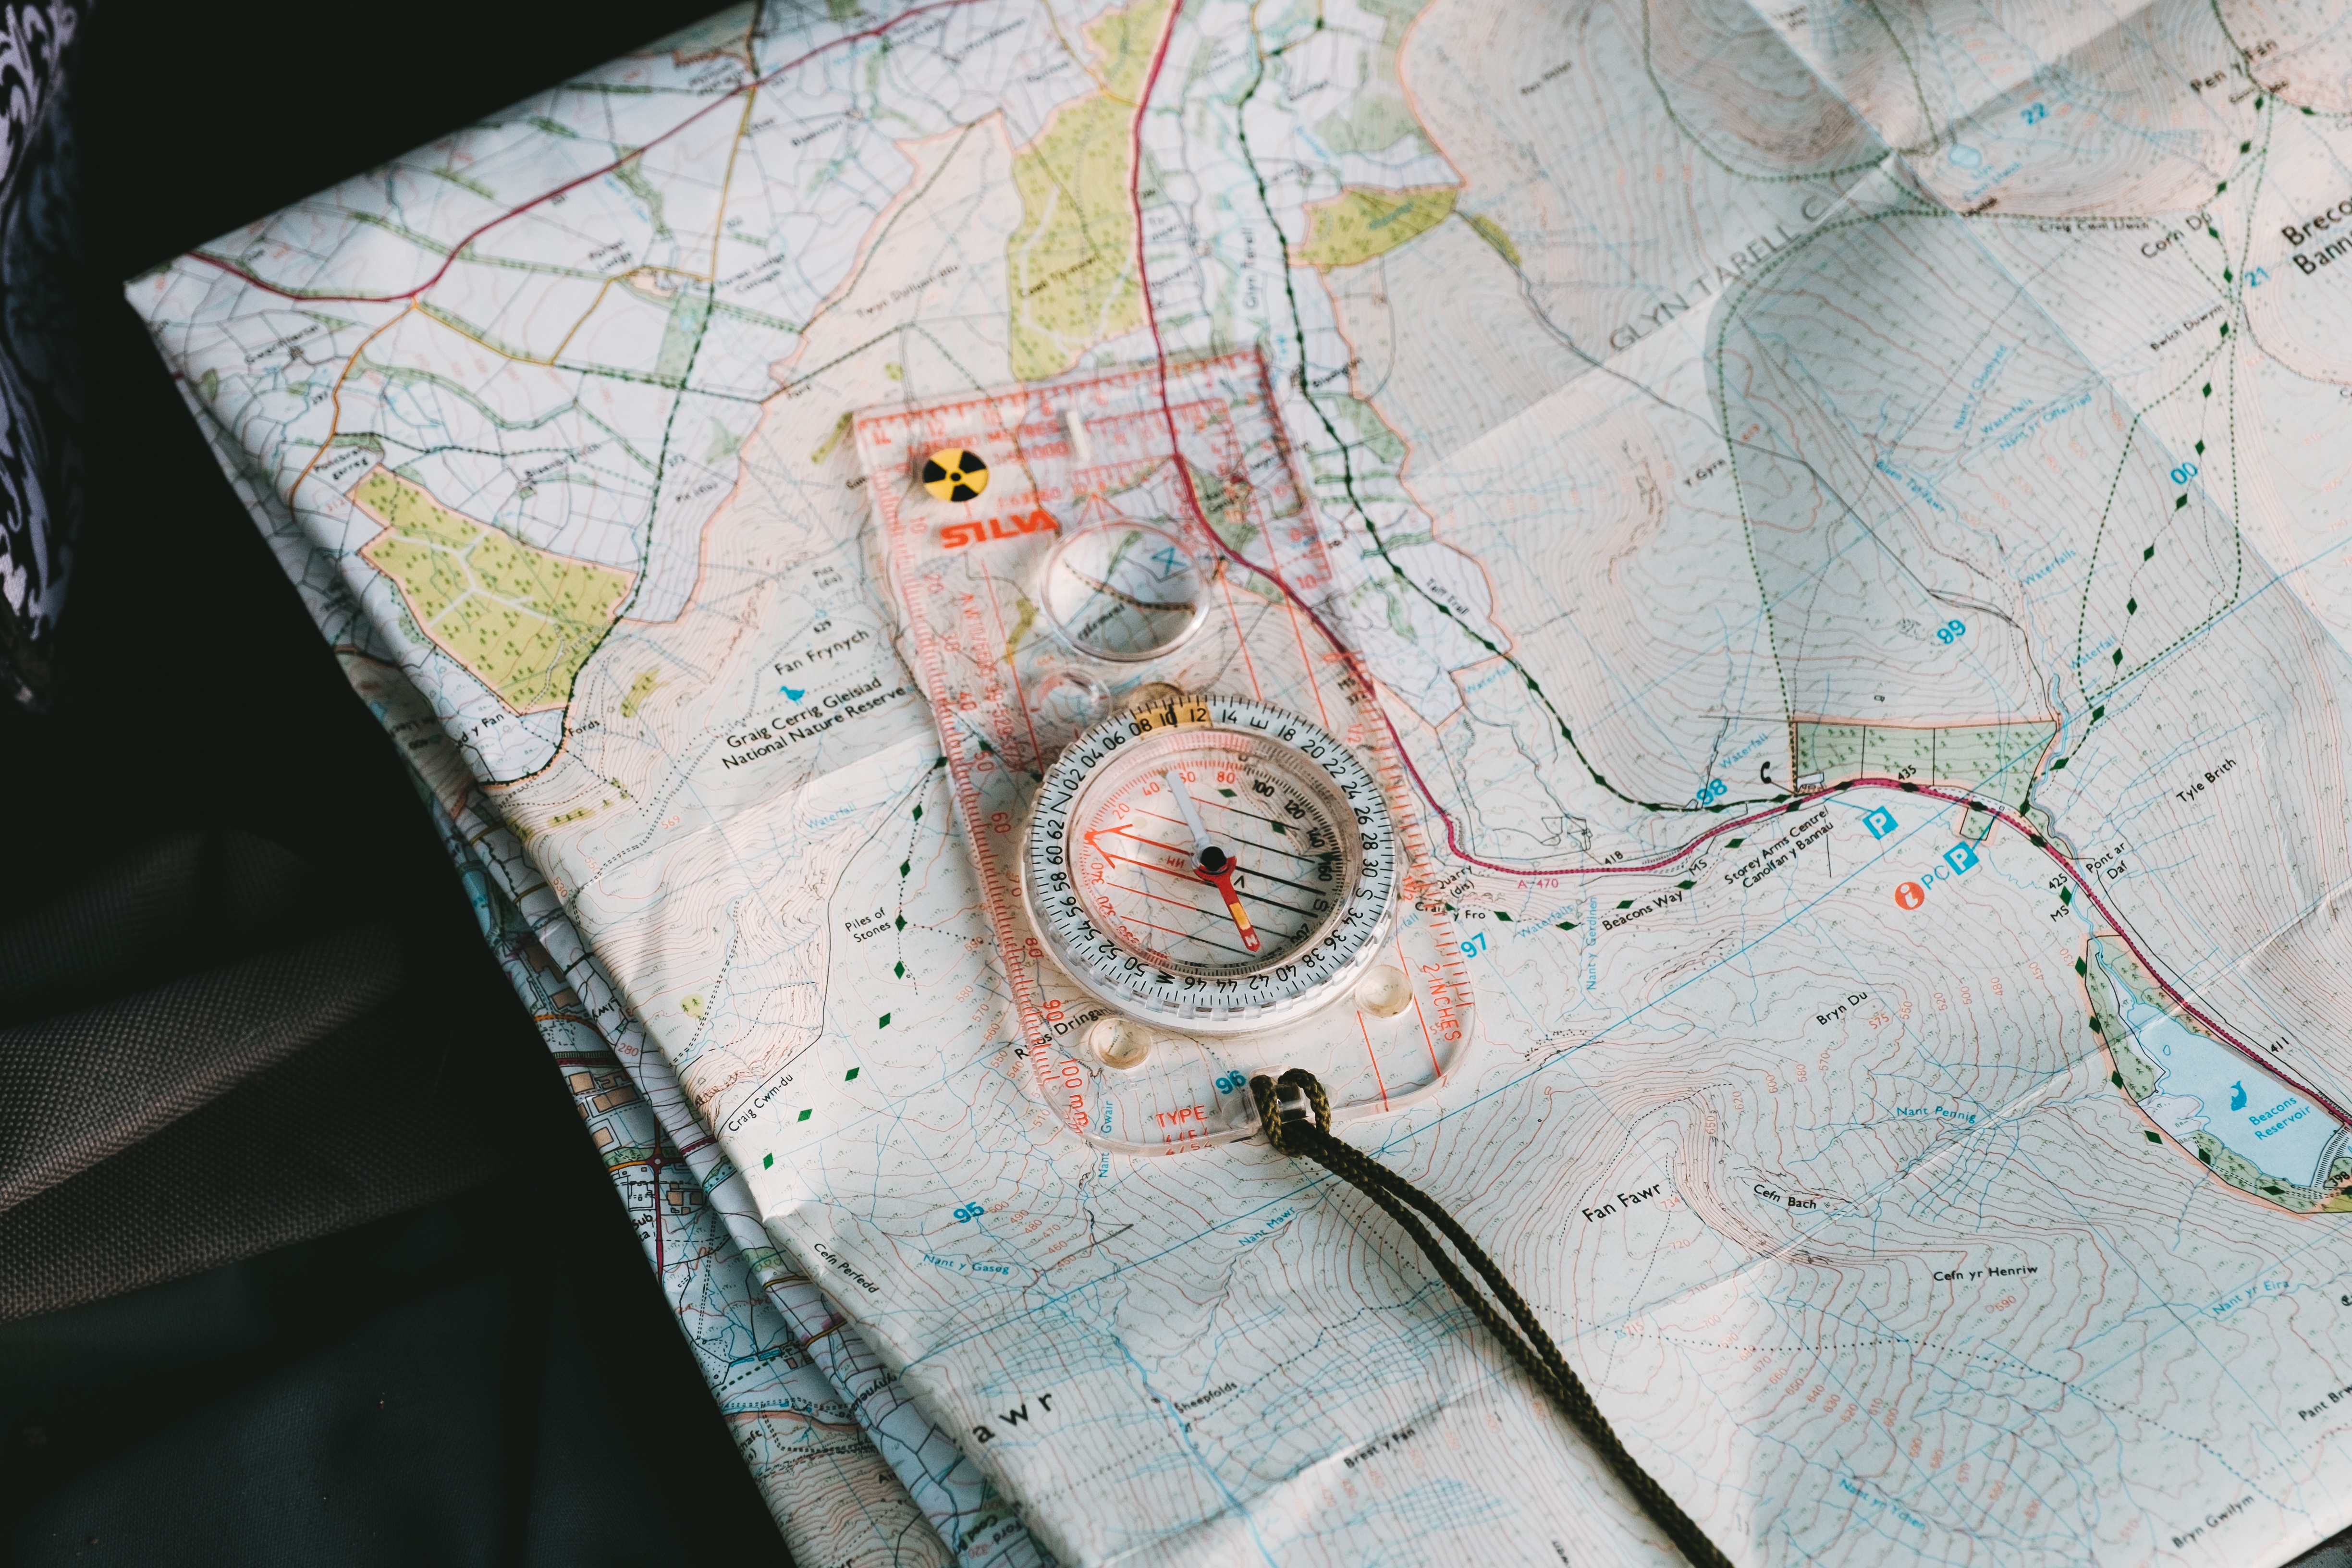
Regardless of how you obtain wilderness navigation skills, it’s the practice and actual use of those skills that count. The list of gear needed for your kit is small: an accurate trail map, a compass, and a pencil.
There is no substitute for a printed map and reliable compass. GPS is a wonderful additional tool and can make backtracking the route you hiked a snap (assuming you know how to use it). However, being solely dependent on GPS can also get you into trouble — batteries die, a good satellite signal can’t be obtained, a drop on a rock cracks the screen, or it was lacking waterproofness. Keep track of your route on the printed map even when you are using GPS.
Trail maps should have what is expected: trail entrances, trails, side and crossing trails, roads (open or closed), water features (streams, wetlands, waterfalls), caves and mines, important structures such as bridges/hiker assist cables/gates/shelters/lookout towers, and developed camping spots. Some trail maps may have elevation contours such as USGS topo maps (United States Geological Survey), while some may not. Color shading on a map is sometimes used to indicate steeply sloped areas.
All geographic features on a trail map should be properly identified and labeled. The map should have a North arrow with magnetic deviation identified, a graphic scale bar (not just a numeric ratio, i.e. 1:24,000), date of the last information update, and the agency responsible for the map (preferably with contact information).
If the trail map you have doesn’t show the proper information, you should augment it with the USGS topo map for the location. Digital USGS topo map versions are easy to acquire and free. You can download a map and print at home. The topo map may not show all the latest trails and features, or it may show old trails that are no longer there. Check the publication date of the map for the area you need.
Fundamentals of trail navigation are a necessary skill
The fundamentals of trail navigation with map and compass are a necessary skill whether you are hiking with friends or on a solo adventure. We’ll also provide information on where to find a wilderness navigation class to learn and practice skills with map and compass. Recommendations for trail maps and compasses are given. Also addressed are dedicated GPS (Global Positioning System) devices, cell phone and watched based GPS. Trail navigation with map and compass can be a fun exercise to practice at a local park or woodland. Regardless of the tools used, knowledge of wilderness navigation is needed to ensure your well-being in the backcountry.
Planning and training for an adventure trip takes a certain level of commitment to ensure that you’re physically and mentally prepared to deal with the expected and unexpected. It is equally important to be prepared for your training hikes, just in case you get a surprise. Murphy’s Law appears regularly in the great outdoors!
Your first thought may be: “I’m hiking trails I’ve hiked for years, so I don’t need a map/compass/GPS.” Fair enough, but if you have to train for distance or steep mountain trails, there is a good chance you will be hiking in unfamiliar areas. Search and Rescue (SAR) teams are regularly sent out to find hikers that became lost on familiar trails. Something as simple as a downed tree that forces you off the trail can result in your inability to find the trail again and leave you a bit lost throughout a cold/wet/buggy night until a SAR unit finds you the next day. Please note the vast majority of SAR searches are for day hikers only a few miles from their car. Half the rescues are for experienced hikers in areas they know well (or so they thought). Stuff just happens sometimes. It’s wise to keep track of where you are at all times.
In a similar vein, I hear hikers say: “There are signs; we don’t need a map.” Some trails have signs that are maintained better than others (state parks); some trails have signs torn down regularly by disenchanted locals (Forest Service; Bureau of Land Management [BLM] ). Old signs may have illegible text on aged wood or have rotted and fallen over — don’t be totally dependent on signs. Well-maintained trails often have painted marks on trees and boulders (the famous Appalachian Trail white blaze), but storms can cause those well-maintained marks to disappear overnight. Trails cross and trails fork off — stuff just happens, so navigate well and don’t get lost.
Knowing how to navigate is important for your safety, the safety of fellow hikers, and SAR teams. By applying a bit of wilderness navigation skill to your hike, you can avoid getting lost. Your family and friends will be glad you made it back.
Cell Phone Based GPS
If you’re hiking in an urban area, you’ll most likely have cell phone communication and by extension, the phone’s GPS maps. They are convenient but should not be totally depended upon at the expense of carrying a paper map of your hiking area. Many popular trails are now available for your phone via GPS map apps. Some of the most popular phone apps are AllTrails, Gaia GPS, Locus Maps and Map Project. Learn how to use the GPS map app BEFORE you hit the trail! They are not quite as intuitive as Google Maps, but neither do they require great skill to use.
Modern GPS technology is now available on some smartwatches. Garmin makes rugged outdoor watches with considerable battery life using GPS map navigation. Maps of your hiking area can be loaded on the watch much like on your phone. Apple watches can do similar things, but without the durability and battery life needed for prolonged outdoor excursions.
Cell phones regularly have drop-out zones in heavily wooded areas and rough terrain, eliminating the availability of the phone’s map data (typically an area of a map can be downloaded to your phone’s drive so it’s always available). Limited battery life, lack of weather resistance, and the infamous cracked screen all combine to make a cell phone as a navigation tool less than reliable. Bad weather is infamous for knocking out cell towers (as are wildfires). However, the phone’s camera can come in handy. There are ways to pre-download an area of a map for offline use, but that doesn’t make the phone any more dependable. That said, long distance hikers use their cell phones for GPS navigation by making use of a rugged, highly protective case and taking a battery bank for recharging the phone.
Lastly, the one beneficial use of a cell phone in the wilderness is due to the location signal it sends to cell towers (if some are in range). Rescuers can track those signals to your phone’s location, but the phone has to be turned on (most phones from 2016 onward can be tracked even in Airplane Mode, as GPS is a receive-only signal using minimal power). The proposition of its signal use will depend on how long the battery lasts when the phone is on. For a day hike this is usually not an issue, assuming you start your hike with a full charge and aren’t running any apps.
A few years ago, an experienced hiker was in the Smokies when an unpredicted snow storm moved in (rain below, snow at higher elevations). He slipped on an icy rock and fell down a steep mountain side into the thick woods and rhododendron. With an injured shoulder and out of site of the trail, he was unable to climb up the slippery slope to the trail where he knew hikers could eventually find him. That night his wife called authorities when she hadn’t heard from him and was worried because he hadn’t returned. She told them he had a cell phone, but she couldn’t reach him. With the fresh snow, all tracks were covered, so authorities asked the cell phone company to try a position triangulation. They got a very weak, intermittent signal, but it was enough to lead them near his location. As the SAR team hiked past, the hiker heard voices and blew his emergency whistle (see upcoming article on Hiking Essentials), which SAR could hear despite the raging winds. This goes to show that your cell phone can serve in some areas as a pseudo emergency location device. However, a proper emergency location device (like the Garmin InReach Mini or Spot devices) uses direct satellite communication and is the way to go for regular solo hikers or anyone in the backcountry (skiers, climbers, etc.). Once activated, it will lead SAR teams directly to you.
Before Hiking

Local knowledge can go a long way towards a successful, enjoyable hike. It is wise to find out trail and road conditions as well as the weather forecast for your hiking location before you leave the driveway. You may also want to check on local hunting seasons where you plan to hike. Wherever you are hiking, know what organization manages that area and contact them for the latest trail conditions.
The Forest Service, National Park Service, BLM, state parks, and local Department of Natural Resources (great source for hunting season information) are happy to share the latest trail and road conditions. Some locations may have website updates while others may not. A phone call to the land management office for the area you intend to hike is usually the best source of up-to-date information. For instance, I recently hiked a trail in the Smokies which had a section closed due to bat mating season in the cave just below, so I had to turn around halfway through the hike. If I had checked trail closures beforehand I could have chosen a different hiking trail. Alternatively, the county sheriff’s office will also usually know local road conditions.
Note that a number of higher elevation roads are closed during the winter or during winter storms. Roads may also be closed due to storm damage or logging operations.
Weather is a big factor in backcountry navigation. You don’t want to be on a ridgeline during a lightning storm or high winds. You don’t want to wade across a swollen, raging creek due to upstream rain storms or afternoon snow melt. Plan your hike accordingly. This is where acquiring some local knowledge can be quite useful. Check the weather forecast for where you will be hiking before you go!
Magnetic Deviation
All proper trail maps will have a North arrow. North is typically the top of the map (some local park maps may not have a North arrow and may be printed to accommodate the paper size, i.e. the top of the map may not be north). However, the north your compass arrow points to is Magnetic North, which is some distance from True North at the Arctic Pole (roughly 1000 miles). This anomaly is called magnetic deviation.
The geo-magnetic properties of the earth’s surface vary quite a bit. A good trail map will show the deviation for that geographic location. A good compass will have an adjustment to allow for the difference between Magnetic and True North (digital compasses with GPS should self-adjust for the location). A proper map will note the magnetic deviation for that area.
For instance, where I am the deviation is 3.5 degrees east of True North. If I were 200 miles away, regardless of direction, the deviation will differ (though due south is less). I must adjust my compass to reflect the magnetic deviation for the area or find my compass pointing in a direction well off the proper heading. There is another variable called declination, which is in fact something different (not nearly as much effect as deviation).
All this may start to sound a bit complicated, which is why it is wise to attend a wilderness navigation class. At the very least, read a good book on navigation with map and compass. YouTube has some very good, short videos on backcountry navigation using map and compass.
Leave a Hike Itinerary
Friends and family aren’t being nosey when they ask where you are hiking; they just want you to return safely (reference Emergency Location Beacon above). The best way to put their minds at ease (and possibly yours, too) is to leave a hiking itinerary with a responsible friend or family member. Tell them where you plan to hike, what time you plan to be back in touch, and who to call if you’re not back by midnight. Example: “Parking car at end of Jarrard Gap road near Suches, GA. Hiking trails on west side of Blood Mountain. Be back to car around 7:30. Will call or text before 9:00. If you don’t hear from me by midnight, call the Union County Sheriff’s Office, 706-555-5555.” Also leave a description of the car you’ll be in and the tag number.
At the very least, park your vehicle where a passing ranger can see it and leave a note on the dash such as “Hiking Savage Gulf, be back by dark. Thursday, March 4.” At the very least, a SAR team will know where to look if my car is still there a day or two later. Needless to say, don’t leave any valuables in view inside your vehicle!
Navigate well, make good decisions, be safe and enjoy your hike!